How to Make Homemade Hummus the Mediterranean Way
Creamy. Tangy. Nutritious. Hummus isn’t just a snack—it’s a Mediterranean staple that’s crossed borders to become a global favourite. But store-bought versions often miss the mark in flavour, texture, and freshness. That’s why learning how to make homemade hummus the Mediterranean way is a small kitchen skill with big payoffs.
Whether you’re serving it as a healthy dip recipe, a sandwich spread, or a meze table hero, hummus made from scratch is cheaper, tastier, and endlessly customisable. This guide will show you how to master it, step by step.
Understanding the Core: What Makes Mediterranean Hummus Special?
A Dish Rooted in Tradition
Hummus has long been a fundamental part of diets in the Middle East and Mediterranean regions. This tasty spread has a long history. It comes from Levantine cuisine and dates back centuries. It comes from a mix of simple, plant-based ingredients that work well together.
These ingredients come together to make a dish that nourishes the body and pleases the taste buds. Hummus has a creamy texture and unique flavours. Many people love it, and it’s enjoyed in different ways around the world.

The Classic Mediterranean Hummus Recipe Includes:
- Chickpeas (garbanzo beans): Protein-rich and creamy
- Tahini: A sesame paste that adds depth and richness
- Lemon juice: For acidity and freshness
- Garlic: A pungent kick
- Olive oil: Smoothness and silkiness
- Salt & water: For seasoning and texture control
No unnecessary preservatives or odd ingredients—just honest, whole foods.
Health Benefits of Homemade Hummus
Homemade hummus isn’t just delicious; it’s also:
- Rich in fibre and plant protein
- Heart-healthy thanks to olive oil and sesame oil
- Naturally vegan and gluten-free
- Low glycaemic, supporting blood sugar stability
Pro tip: Don’t skip lemon juice—acidity brings it to life
Quick Guide
- Tahini + lemon + garlic = flavour base
- Blend chickpeas slowly, adding cold water for smoothness
- Taste and tweak to your preferences
- Finish with an olive oil drizzle and garnish
- Store airtight and enjoy within 5 days
Important: Use cold water for fluffier hummus.
Step-by-Step Guide: How to Practise Making Hummus the Mediterranean Way
Ingredients (for 4 servings)
- 1 can (400g) chickpeas, drained and rinsed
- 1/4 cup tahini
- 2 tbsp fresh lemon juice (about 1 lemon)
- 1 garlic clove, minced
- 2–4 tbsp cold water
- 2 tbsp extra virgin olive oil
- 1/2 tsp salt
- Optional: 1/2 tsp ground cumin or paprika for flavour depth
Instructions
- Peel the Chickpeas (Optional but Recommended): For ultra-creamy hummus, gently rub chickpeas in a towel or pinch skins off individually.
- Blend Tahini and Lemon Juice First:
- In a food processor, blend tahini and lemon juice for 1 minute until creamy.
- This aerates the tahini and builds a lighter base.
- Add Garlic, Salt, and Olive Oil:
- Add minced garlic, olive oil, and salt to the mixture. Blend for 30 seconds.
- Add Chickpeas in Batches:
- Scrape the sides and blend in the chickpeas half at a time. Blend until chunky.
- Add Cold Water Gradually:
- Add 1 tablespoon at a time until you reach your desired consistency.
- Taste and Adjust:
- Add more salt, lemon juice, or garlic as needed. Blend again.
- Serve and Garnish:
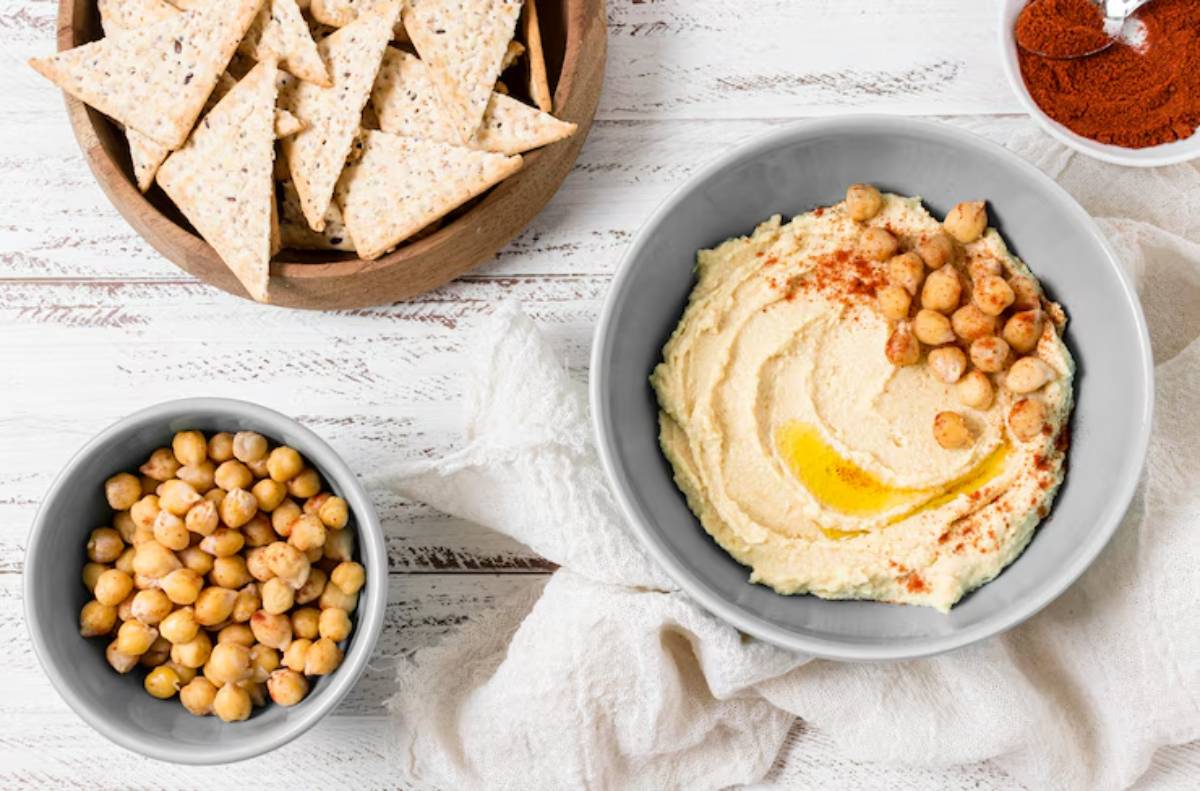
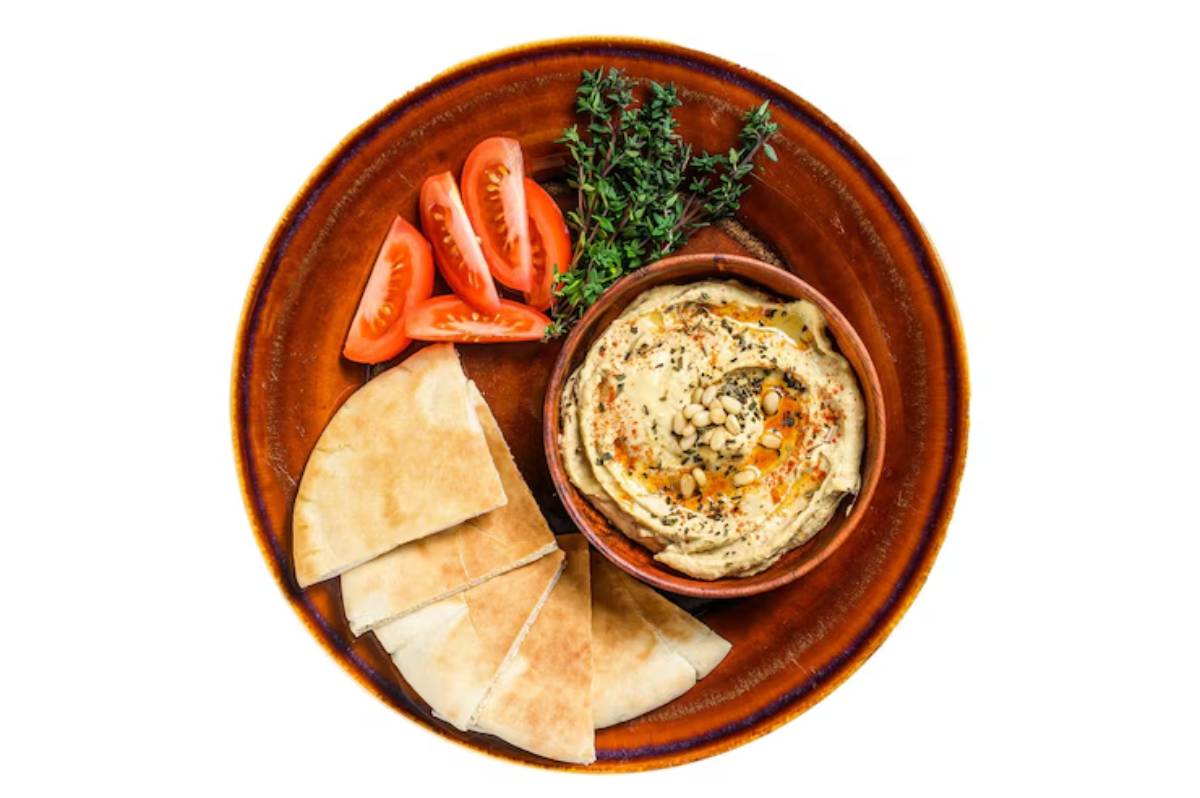
- Spoon into a shallow bowl. Create a well in the middle and drizzle with olive oil.
- Garnish with paprika, parsley, or toasted sesame seeds.

Meal Prep Hummus Like a Mediterranean Cook
- Make a double batch: Blend once, eat all week—save time and effort.
- Portion for convenience: Store in small jars or containers (1/2 cup each) for quick grab-and-go options.
- Switch flavours midweek: Stir in different add-ins like roasted red pepper, fresh herbs, or spice blends after dividing your base batch.
- Use as a snack pack base: Add hummus to a lunchbox with carrot sticks, cucumber slices, olives, and pita wedges.
- Freeze if needed: Hummus freezes well in airtight containers. Just stir after thawing to restore texture.
- Keep garnishes separate: Sprinkle paprika, parsley, or seeds just before serving to keep colours and textures fresh.
Why it works: Meal prepping keeps your hummus routine exciting and varied. It’s perfect for those following a Mediterranean-style diet who want quick, flavourful options ready at any time.
Best Practices & Additional Insights
Boost Flavour with Add-ins
Fancy a twist? Try:
- Roasted red pepper: Sweet and smoky
- Sun-dried tomato: Rich and tangy
- Coriander or parsley: For herby freshness
- Spices: Cumin, za’atar, sumac, or harissa for bold Mediterranean flair
How to Serve It Right
Serve hummus with:
- Warm pita bread or vegetable crudités
- As a spread in wraps or sandwiches
- As part of a mezze platter with olives, falafel, and tabbouleh
FAQs
Q: Can I use canned chickpeas instead of dried?
A: Absolutely. Canned chickpeas save time and still produce creamy hummus, especially if peeled.
Q: How long does homemade hummus last?
A: Store in an airtight container in the fridge for up to 5 days. Stir before serving.
Q: Is hummus good for weight loss?
A: Yes—hummus is nutrient-dense and satisfying. Just watch portion sizes with bread or chips.
Q: Why does my hummus taste bitter?
A: Likely due to poor-quality tahini or overblending garlic. Use fresh, reputable brands and balance flavours.
Conclusion & Call to Action
There’s something deeply rewarding about making your own hummus. It connects you to Mediterranean tradition while giving you control over flavour and quality. This healthy dip recipe is perfect for entertaining, meal-prepping, or simply enjoying on toast.
Why settle for store-bought when you can create your own creamy chickpea spread in minutes?


